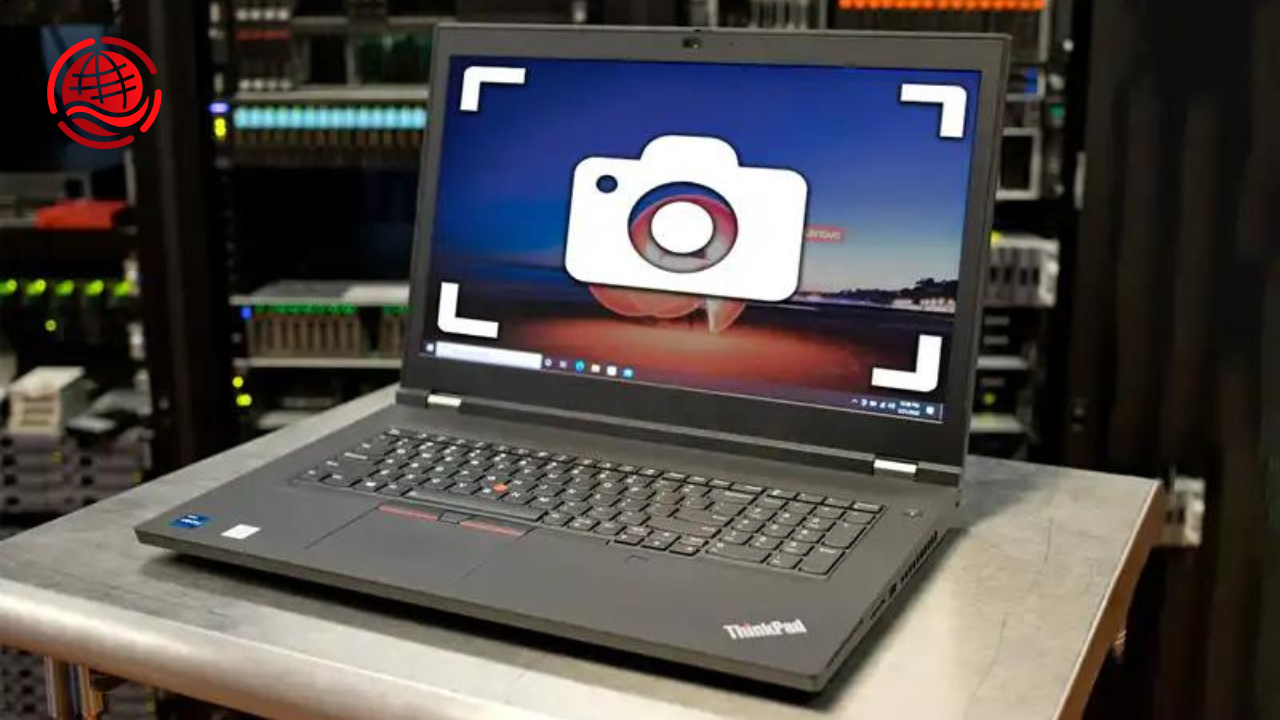
In the digital age, capturing what’s displayed on your screen has become indispensable for communication, documentation, and troubleshooting. Whether you’re sharing an interesting article, saving important information, or seeking technical support, knowing how to take screenshots efficiently is valuable. Lenovo, a renowned brand in the realm of personal computing, offers various devices equipped with Windows operating systems, providing several methods to capture your screen effortlessly. Let’s delve into the diverse ways of taking screenshot on Lenovo devices.
Using Built-in Keyboard Shortcuts
- Full-Screen Screenshot (Print Screen):
- Press the “PrtScn” (Print Screen) key on your Lenovo keyboard using the traditional method to capture and copy the entire screen to the clipboard.
- To save the screenshot, open an image editing software such as Paint or Microsoft Word and paste the captured image (Ctrl + V). Then, save the file accordingly.
- Active Window Screenshot (Alt + PrtScn):
- If you only want to capture the active window, press “Alt + PrtScn.” This shortcut copies the active window to the clipboard.
- Proceed to paste and save the screenshot using an image editing program.
Utilizing Snipping Tool
- Windows Snipping Tool:
- Lenovo devices running Windows typically come with the built-in Snipping Tool. You can access it by searching “Snipping Tool” in the Start menu.Once opened, select the type of snip you want (Free-form, Rectangular, Window, or Full-screen), then capture the desired area.
- After capturing, you can annotate, save, or share the screenshot directly from the Snipping Tool interface.
Employing Windows Snip & Sketch
- Snip & Sketch Tool:
- Windows 10 and later versions incorporate the Snip & Sketch tool, an improved version of the Snipping Tool.
- Launch Snip & Sketch by searching for it in the Start menu or using the shortcut “Windows key + Shift + S.”
- Choose the desired snipping mode (Rectangular, Freeform, Window, or Full-screen), and the selected area will be copied to the clipboard.
- A notification will prompt you to open the captured snip in the Snip & Sketch app, where you can annotate, save, or share it.
Using the Windows Game Bar
- Game Bar Shortcut:
- Lenovo devices equipped with Windows 10 also offer the Game Bar,
- the camera icon or press “Windows key + Alt + PrtScn” to capture the screen.
- The screenshot will be saved in your user directory’s “Captures” folder within the “Videos” folder.
Conclusion
Mastering the art of taking screenshots on Lenovo devices empowers users to capture and share information efficiently, troubleshoot technical issues, and communicate effectively in various contexts. Whether using traditional keyboard shortcuts, built-in Windows tools like the Snipping Tool or Snip & Sketch, or leveraging the Game Bar for gaming, Lenovo provides many options catering to diverse user preferences. By familiarizing oneself with these methods, Lenovo users can streamline their workflow and enhance productivity in the digital realm.
Read Also: Explore NetReputation: Reddit’s Guide to Managing Your Online Presence


